Every app starts simple, but as features pile up, so does the chance of something breaking. A small change to a login screen can cause an onboarding flow to fail. An update to one widget may unexpectedly affect another.
Manual testing works for early prototypes, but it does not scale well. Automated tests solve this by letting you validate app behavior quickly and consistently. In FlutterFlow, automated testing is built in, so you can run tests without leaving your development workflow.
What Automated Tests Can Do
Automated tests in FlutterFlow are designed to help you:
- Validate key flows: Check that onboarding, login, checkout, or any other critical user journey works as expected
- Save time: Run repeatable tests on-demand instead of re-checking features manually
- Catch regressions: Make sure new changes do not break existing functionality
- Test across devices: Use Firebase Test Lab integration to run your app on multiple device types and OS versions
For startups and agencies, this means fewer late-night bug hunts and faster delivery with confidence.
How to Run Automated Tests in FlutterFlow
Step 1. Create a Test Case
Go to Testing > Automated Tests in your FlutterFlow project. Click + New Test to create a test case. Give it a name that reflects what you are validating, such as “Login Flow Test.”
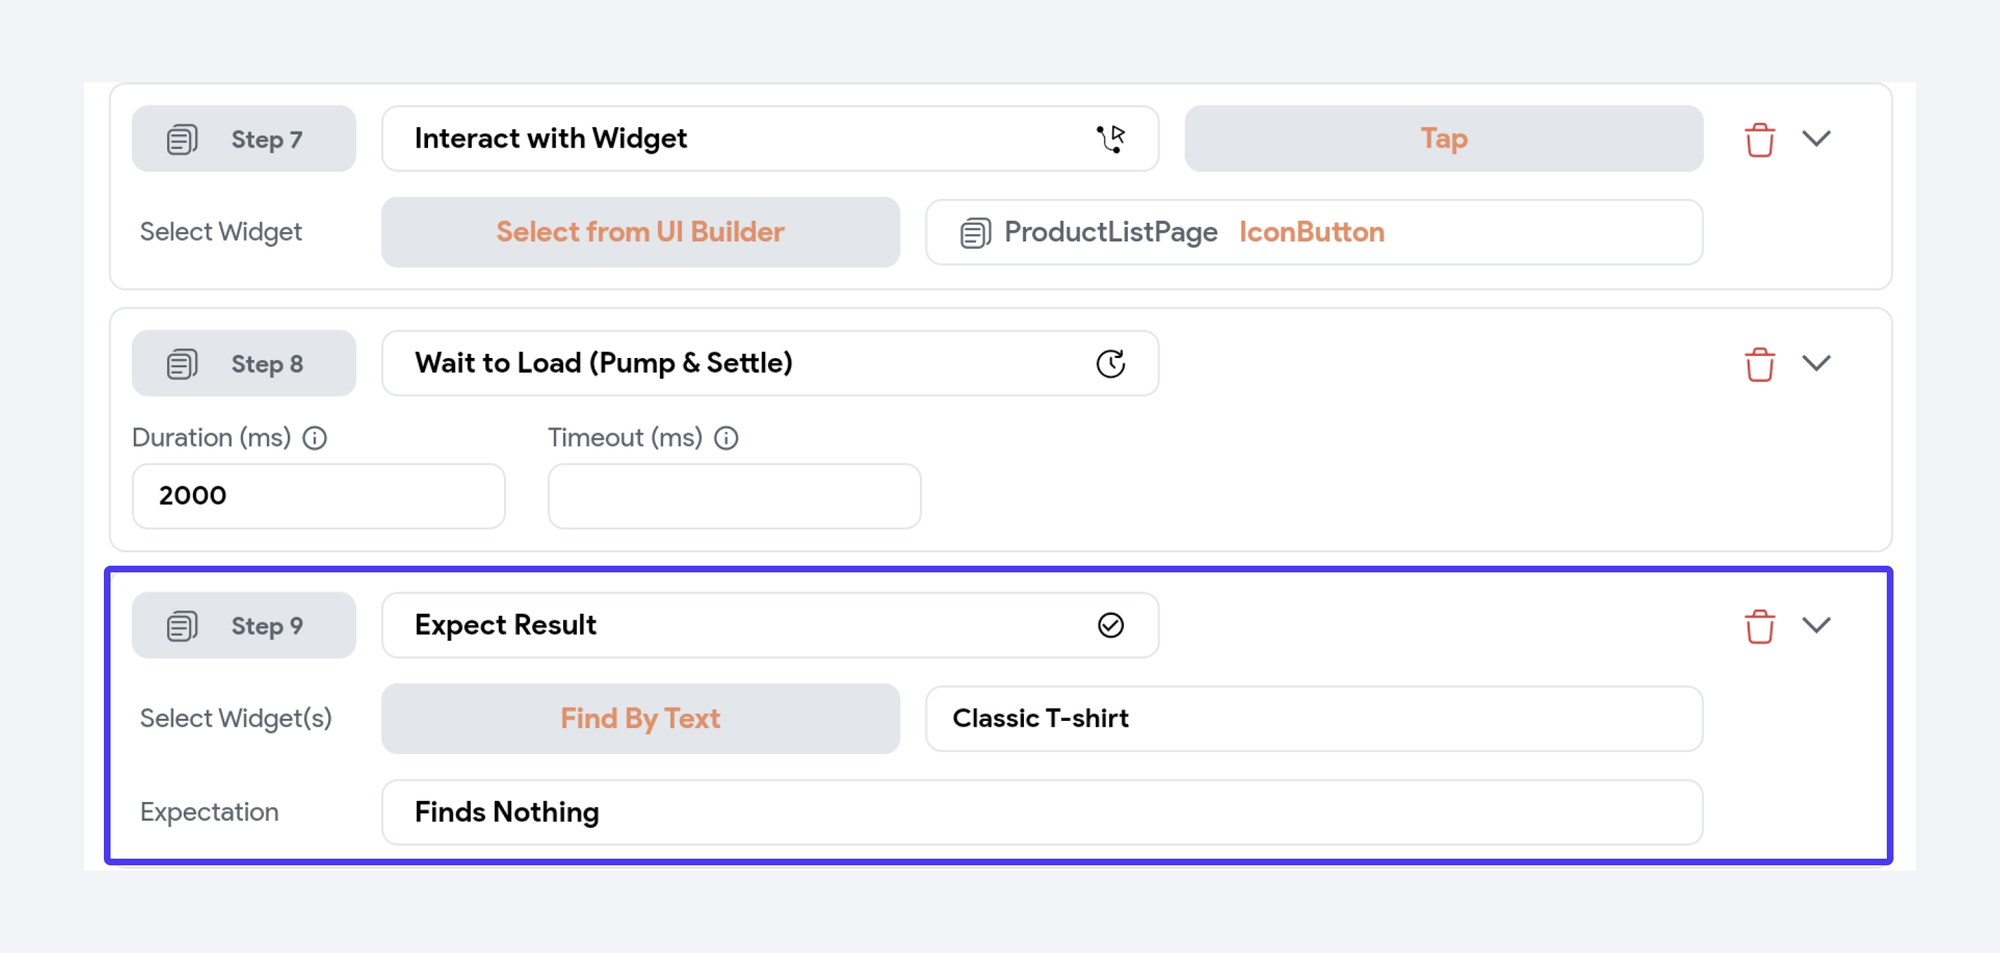
Step 2. Record or Define Actions
Automated tests simulate user interactions. You can:
- Record taps, form fills, and navigation steps
- Define assertions such as “this widget should be visible” or “this text should equal X”
For example, a login test might include:
- Tap the email input field and type a value
- Tap the password field and type a value
- Tap the login button
- Assert that the home screen loads successfully
Step 3. Run Tests Locally
Click Run Test to see results directly in FlutterFlow. You will get feedback on whether the flow passed or failed, along with error details if something broke.
Step 4. Scale With Firebase Test Lab
For broader coverage, connect your project to Firebase Test Lab. This allows you to run tests on real devices and OS versions in the cloud. It is especially useful if you are targeting both iOS and Android and want to ensure consistent behavior.
Step 5. Integrate Into Your Workflow
Automated tests can be run at any point, but they are most powerful when used regularly:
- Run locally after making feature changes
- Run in Firebase Test Lab before pushing to production
- Include tests as part of your CI/CD pipeline for continuous validation
Best Practices for Automated Tests
To get the most out of FlutterFlow’s testing tools, keep these tips in mind:
- Focus on critical paths first: Start with flows like login, onboarding, and checkout that would block users if broken
- Keep tests simple: Smaller, focused tests are easier to debug and maintain than large, complex scripts
- Use clear names: Label tests descriptively so your team can easily find and run the right ones
- Test often: Run tests regularly to catch issues early rather than waiting until right before deployment
- Combine with environments: Use development and staging environments to test safely before promoting to production
Real-World Scenarios
- A fintech startup runs automated tests on every deployment to confirm payments process correctly across devices
- An agency sets up a reusable suite of onboarding tests that can be applied to all client apps
- A product team adds automated tests for form validation to ensure user data is always captured correctly
Bringing It Together
Automated testing in FlutterFlow is more than a safety net. It is a way to build faster and with more confidence. By recording critical flows, validating them regularly, and running them across devices, you reduce the risk of surprises in production.
For small teams, automated tests save precious hours. For agencies, they provide a reliable way to deliver client projects on time and at quality. Either way, adding automated tests to your workflow makes your apps stronger and your releases smoother.