
Working with different mathematical expressions inside FlutterFlow might be cumbersome as you have to define separate Custom Functions for evaluating each of them.
What if I say you can have a single Custom Action for evaluating any math expressions - wouldn't it be fantastic? 🤩
Today, we will create just that - a simple Custom Action that will take the expression as a parameter and generate the output value.
pub.dev package for evaluating the expression, we need to use a Custom Action (which supports importing external dependencies).Package overview
The official package library of Flutter and Dart is pub.dev.
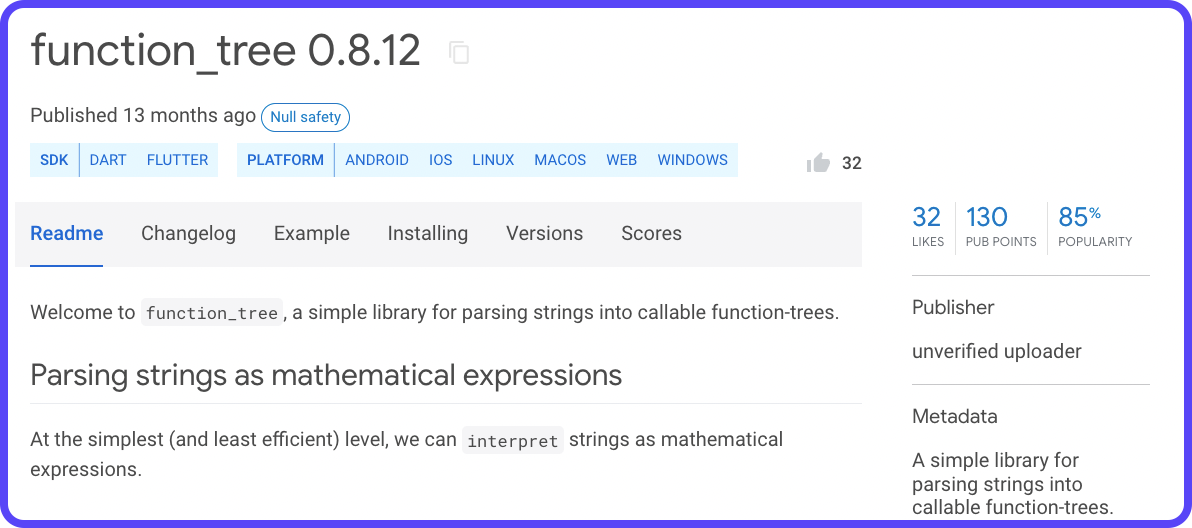
There's an excellent package that will help you to evaluate different kinds of mathematical expressions called function_tree. We'll use this package to create our Custom Action that will be able to generate the output in the proper format.
There could be several packages providing similar functionalities. While choosing, make sure the package:
- Has good scores: Likes, Pub Points (out of 130), and Popularity percentage (out of 100%). More information about package scores is here.
- Has Web support, this will allow you to test out the widget in the Run/Test mode of FlutterFlow.
Defining the Custom Action
Navigate to your FlutterFlow project in which you want to add the math expression evaluator. Follow the steps below to add the Custom Action:
- From the Navigation Menu (present on the left), select Custom Functions.
- Go to the Custom Actions tab and click + Create.
- Enter the action name as evaluateExpression.
- Enable the Return Value toggle, and select the Data Type as Double.
- Click "+ Add Parameter" button. Enter the Argument Name as exp and select the Data Type to be String.
- Click "+ Add Dependency" button. Copy the function_tree package name along with its version by clicking on the copy button and paste it inside the dependency field of the Custom Action dialog.
- Click View Boilerplate Code button and then select Copy to Editor. This will copy a boilerplate code to the editor with the correct action name and the parameters that you had defined.
- As the action that we'll be performing won't need time to process, remove the
Futureand theasynckeyword from the boilerplate. - Now, add a
returnstatement inside the function as:return exp.interpret().toDouble(); - The
interpret()method that we have used above comes from thefunction_treepackage. Go back to the package page, select the Installing tab, scroll down and copy the import statement. Add that import statement inside the code editor before the function starts. - To make sure the code is formatted correctly, click the Format Code button (present in the top-right corner of the code editor).
- Click Check Errors button and select Compile. Wait for the compilation to complete (it takes around 2 minutes).
- Once the code is successfully compiled and it shows "No Errors", click Save.
The complete Custom Action should look like this:
import 'package:function_tree/function_tree.dart';

double evaluateExpression(String exp) {
  return exp.interpret().toDouble();
}
Building the UI
To use the Custom Action, first, you need to create a user interface.
The following video demonstrates the building of a simple UI, containing:
- Text widget: For displaying the evaluated value.
- TextField widget: To take the mathematical expression as user input.
- Button widget: To trigger the Custom Action.
You can customize the UI as per your requirement.
Using the Action
Now that the interface is ready, let's add the functionality to trigger the Custom Action by taking the expression from the TextField widget, and display the calculated value inside the Text widget.
Follow the steps below:
- Select the Evaluate Button from the canvas.
- Go to the Actions tab from the Properties Panel (right).
- Click "+ Add Action" button.
- Make sure the Type of Action is selected as On Tap.
- Select Custom Action from the list. Choose the Custom Action Name as evaluateExpression.
- Set the value of exp Function Argument:
- Select Value Source as From Variable.
- Choose Source as Widget State.
- Under Available Options, select the TextField value (denoted as, "Enter the expression here ...").
- Enter the Output Variable Name as calculatedValue.
- Select the Evaluated Value Text widget from the canvas.
- From the Properties Panel, click Set from Variable:
- Choose Source as Action Outputs.
- Under Available Options, select calculatedValue.
- Under Number Format Options, use No Formatting.
- Click Save.
- Enable Conditional Visibility of the Text widget:
- Select the Source as Condition.
- For the First Value of condition, select Source as Action Outputs, and choose calculatedValue under Available Options.
- Set the condition to be "Is Set and Not Empty".
- Click Save.
Evaluation in action
You can try out the app by running it either using the Run mode / Test mode (recommended) or by downloading the project and running it from your system.
You can try out this sample app with the math expression evaluator action here.
The following shows the expression evaluation in action, running on an iOS Simulator:
Conclusion
This custom action makes it really easy to evaluate mathematical expressions without having to create multiple custom functions. It should come in handy for various use cases, including simple calculations, total price calculation in a shopping cart for processing payments, and a lot more.
