
The basic functionalities that the driver version of the app should be capable of are the ability to view the pending rider bookings and accept the one that's best suitable for the driver.
Different ride-hailing services have their unique approach to displaying the rider information to the drivers. For example, in Uber, their backend system chooses just one unique rider request (from the entire list of pending bookings) based on various conditions, which is then displayed to a driver. So, each driver just sees a single request and can only choose to either accept or reject it.
We have chosen to display the entire pending rider list inside the driver app to keep the demonstration of this app more straightforward. But, you always have the ability to improve upon this implementation and introduce more complex and robust logic particular to your use case by either using Custom Functions / Custom Actions or even add any logic to the server side by leveraging Firebase Cloud Functions.
In this article, we will look into the ride-hailing service's driver-side app and modify the Custom Widget to update the driver location in real-time to Firestore.
If you haven't gone through the previous article, it's recommended to have a look at it before proceeding further:
 Souvik Biswas
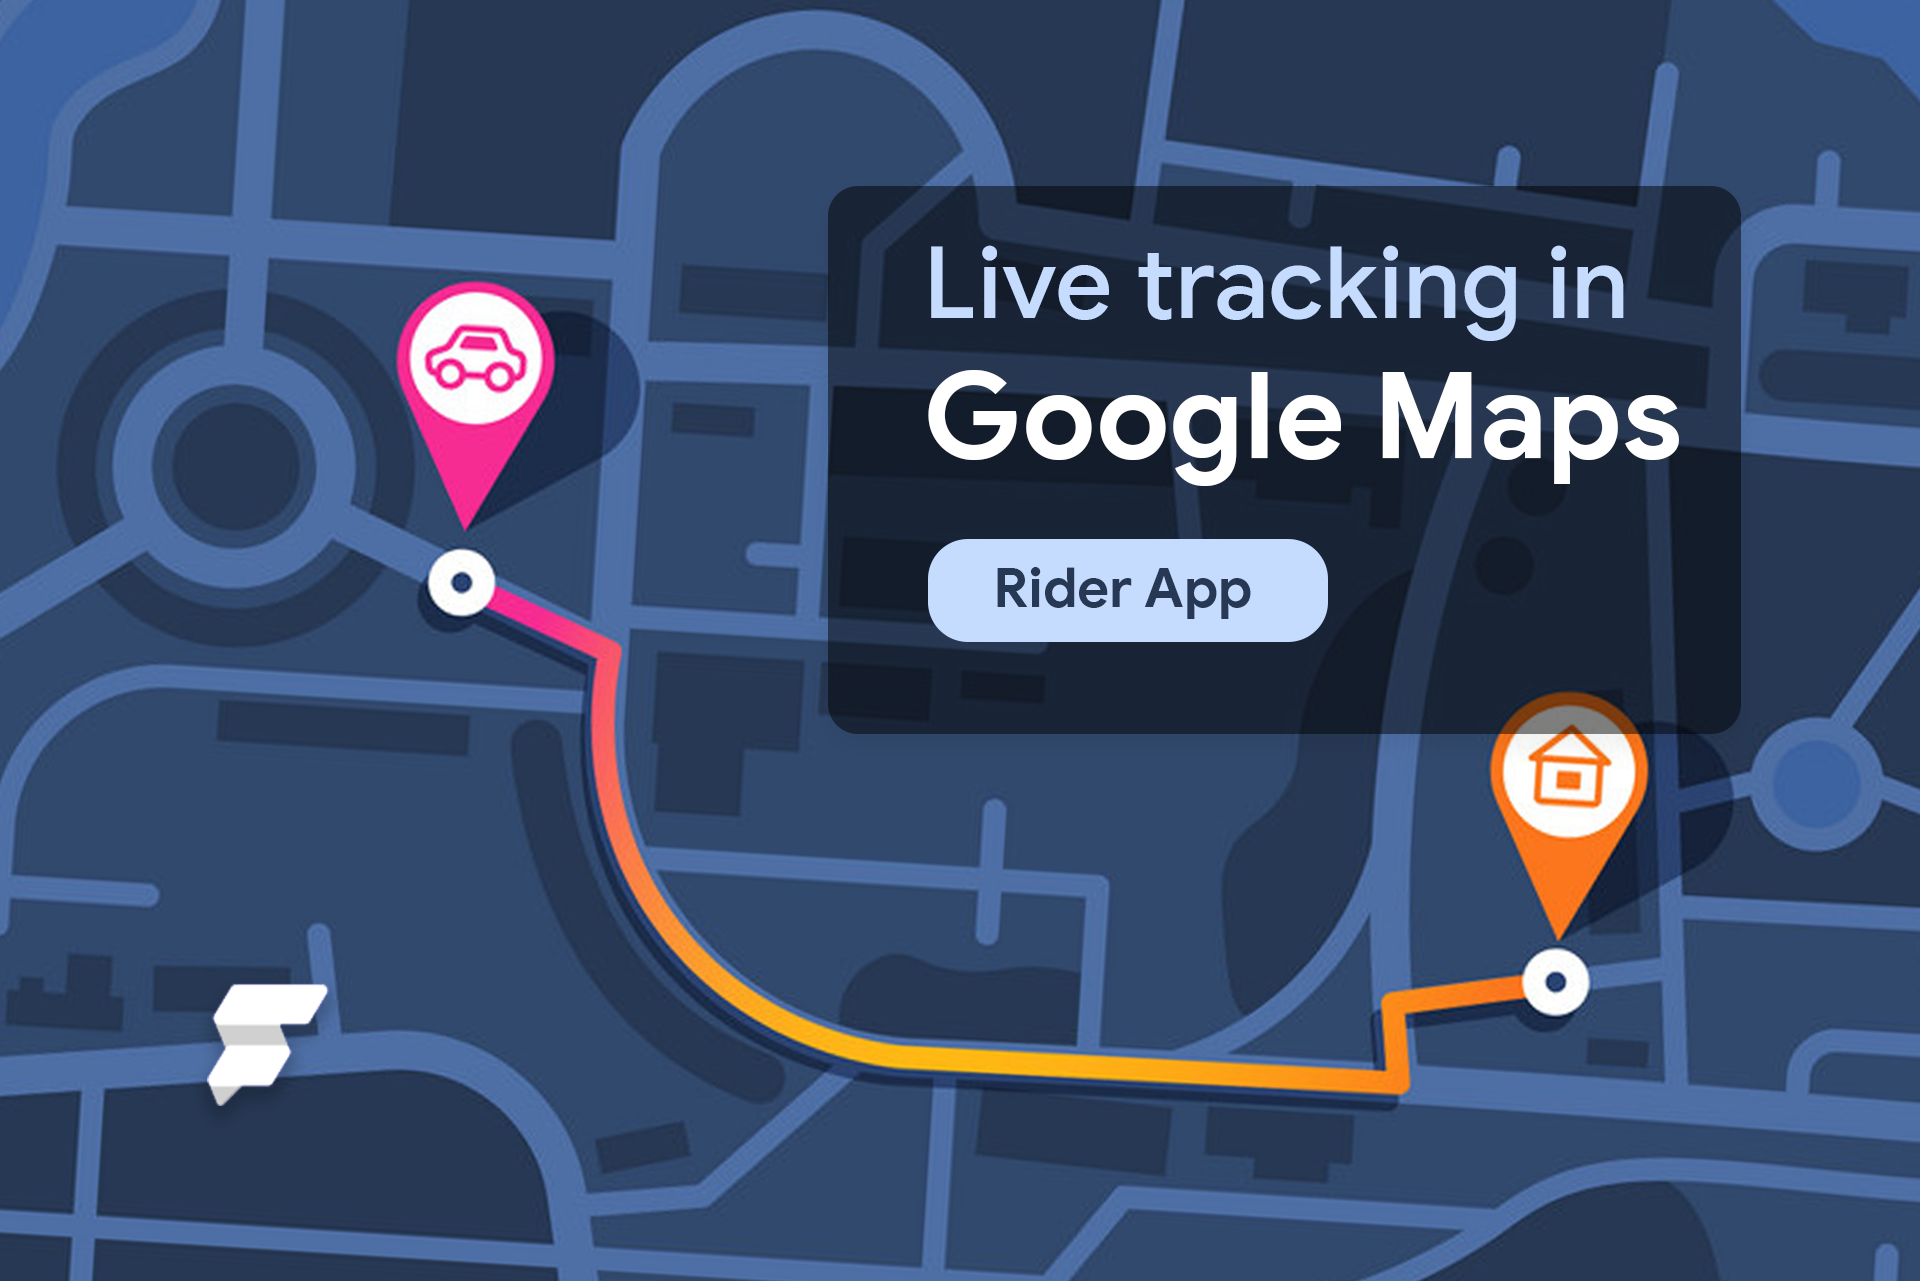
App overview
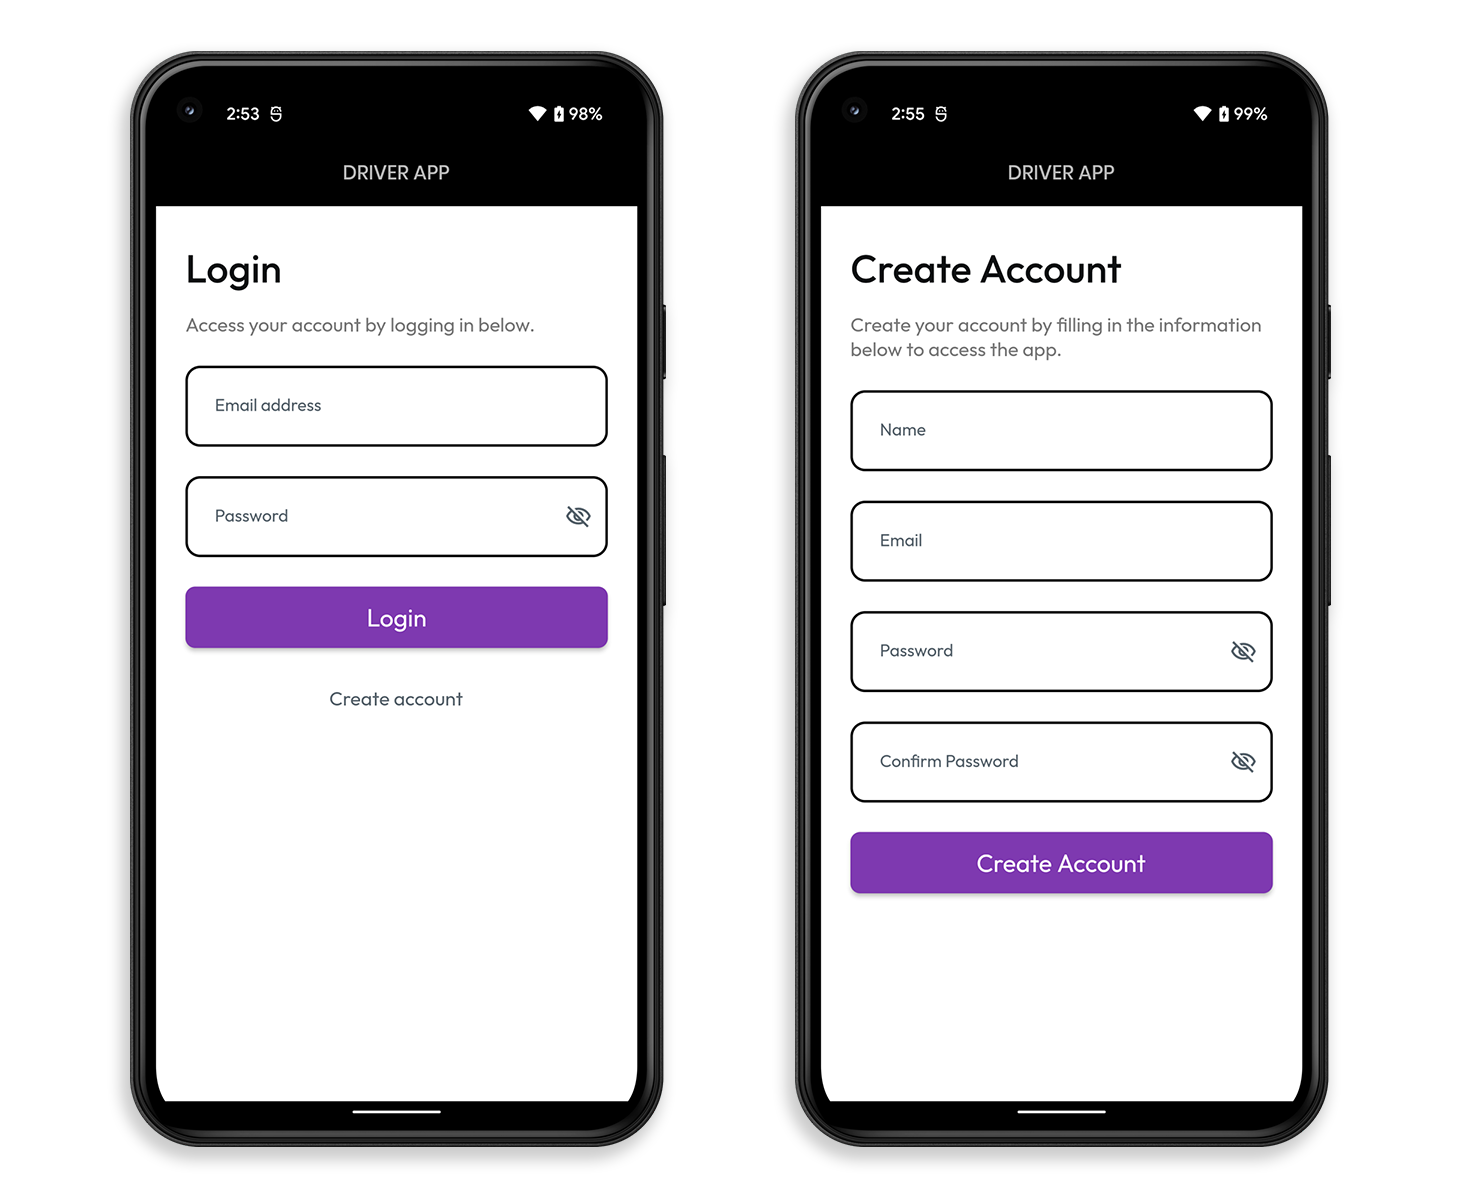
Like the previous blog, the focus will be on integrating the functionalities of the app. Let's have a quick overview of the different screens. The first two standard pages are Login and Create Account Page, skipping these two as they are designed precisely the same as it was for the rider app.
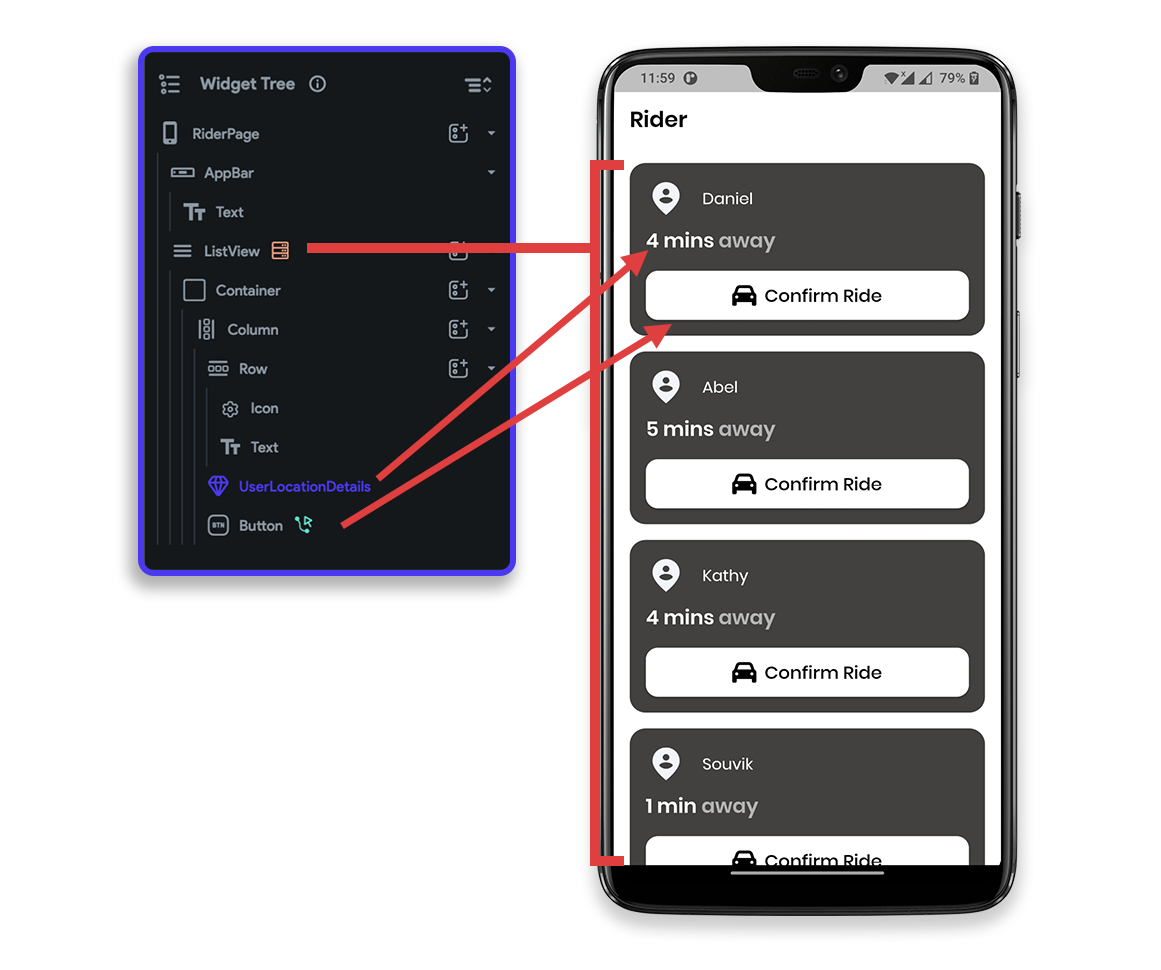
Rider Page
On this page, the riders' bookings that are yet to be accepted by a driver are displayed. A duration estimate for the driver to reach the user's location is also shown with each booking.
User Location Page
On this page, we'll reuse our existing RouteViewLive widget with a simple modification to use the driver's location instead of the destination location from the ride collection Document Reference.

Display bookings
Once the user authentication is complete, they will be taken to the RiderPage where the list of bookings will be displayed. Let's start by retrieving the bookings and displaying them in a list.
Querying Firestore data
To retrieve the bookings, you can set a query on the ListView widget of the RiderPage. Follow the steps below:
- Select the ListView widget from the canvas or the widget tree.
- From the Properties Panel, go to the Backend Query tab.
- Choose the Query Type as Query Collection.
- Select ride as the Collection.
- Set the Query Type to List of Documents.
- Add a filter by clicking + Filter button, and define it as is_driver_assigned > Equal To > Specific Value > False.
- Click Confirm.
Using Firestore data
Now, you can use the retrieved Firestore data to display them inside widgets. Each ListView item will show details regarding the booking along with a button to confirm it.
To display the user's name on a Text widget:
- Select the Text widget from the canvas or the widget tree.
- From the Properties Panel, define the value using Set from Variable > ride Document > user_name.
Showing duration estimates
To show the duration estimate that the driver will require to reach each user's destination, first, you need to calculate the duration between the two locations. We'll be creating a custom widget for fetching the duration estimate and showing it inside a Text widget.
The custom widget can be named as UserLocationDetails. Basic structure of the widget will be as follows:
import 'dart:developer';
import 'package:http/http.dart' as http;
import 'package:flutter/foundation.dart';

class UserLocationDetails extends StatefulWidget {
  const UserLocationDetails({
    Key? key,
    this.width,
    this.height,
    this.fontSize = 16,
    required this.startCoordinate,
    required this.endCoordinate,
    required this.iOSGoogleMapsApiKey,
    required this.androidGoogleMapsApiKey,
    required this.webGoogleMapsApiKey,
  }) : super(key: key);

  final double? width;
  final double? height;
  final double fontSize;
  final LatLng startCoordinate;
  final LatLng endCoordinate;
  final String iOSGoogleMapsApiKey;
  final String androidGoogleMapsApiKey;
  final String webGoogleMapsApiKey;

  @override
  State<UserLocationDetails> createState() => _UserLocationDetailsState();
}

class _UserLocationDetailsState extends State<UserLocationDetails> {
  // TODO: Define required variables
  // TODO: Define the methods

  @override
  Widget build(BuildContext context) {
    return Row();
  }
}
In the above code snippet, you can see the properties that we'll be using inside this widget. We'll just define a single variable inside the _UserLocationDetailsState class:
class _UserLocationDetailsState extends State<UserLocationDetails> {
  String durationString = '';

  @override
  Widget build(BuildContext context) {
    return Row();
  }
}
There will be two methods:
- googleMapsApiKey: For getting the correct API key based on the platform the app is running on (same as the one used inside the rider app).
- retrieveDuration: For getting the duration estimate between the driver and the user location, which is stored inside the
durationStringvariable once retrieved.
retrieveDuration method
In this method, an API call is made to the Google Maps Distance Matrix API for retrieving the travel duration between the two locations.
The retrieveDuration method can be defined like this:
  _retrieveDuration() async {
    double startLatitude = widget.startCoordinate.latitude;
    double startLongitude = widget.startCoordinate.longitude;
    double destinationLatitude = widget.endCoordinate.latitude;
    double destinationLongitude = widget.endCoordinate.longitude;

    var url = Uri.parse(
      'https://maps.googleapis.com/maps/api/distancematrix/json?destinations=$destinationLatitude,$destinationLongitude&origins=$startLatitude,$startLongitude&key=$googleMapsApiKey',
    );
    var response = await http.get(url);

    if (response.statusCode == 200) {
      final jsonResponse = jsonDecode(response.body) as Map<String, dynamic>;
      final String durationText =
          jsonResponse['rows'][0]['elements'][0]['duration']['text'];
      setState(() {
        durationString = durationText;
      });
    } else {
      debugPrint('ERROR in calculating duration');
    }
  }
The above method should be called from within the initState() method:
@override
void initState() {
  _retrieveDuration();
  super.initState();
}
Now, we need to update the build() method to display the duration inside a Text widget:
@override
Widget build(BuildContext context) {
  return Row(
    mainAxisSize: MainAxisSize.max,
    crossAxisAlignment: CrossAxisAlignment.end,
    children: [
      Text(
        durationString,
        style: FlutterFlowTheme.of(context).bodyText1.override(
              fontFamily: 'Poppins',
              color: Colors.white,
              fontSize: widget.fontSize,
              fontWeight: FontWeight.w600,
            ),
      ),
      Padding(
        padding: const EdgeInsetsDirectional.fromSTEB(4, 0, 0, 0),
        child: Text(
          'away',
          style: FlutterFlowTheme.of(context).bodyText1.override(
                fontFamily: 'Poppins',
                color: Color(0x98FFFFFF),
                fontSize: widget.fontSize,
                fontWeight: FontWeight.w600,
              ),
        ),
      ),
    ],
  );
}
For example, if the duration is "2 mins" then it will be displayed as "2 mins away".
The entire code of the UserLocationDetails custom widget can be downloaded here:
Adding the custom widget
To add the above custom widget to your FlutterFlow project, follow the steps below:
- From the left menu, navigate to the Custom Functions page.
- Go to the Custom Widgets tab.
- Click + Create button.
- Enter the Widget Name as UserLocationDetails.
- Click + Add Parameter to define the Parameters with the types.
- Then, either you can paste the entire custom code or use the Upload Code button to upload a file.
- Click Compile & Preview button. Inside the dialog box, click Compile.
- Wait for the compilation to complete, then click Save.
You can use this custom widget by dragging and dropping it into the canvas from the UI Builder > Components tab, or by going to the Widget Tree and using Add Widget button > Components tab. Set the required properties of the custom widget.
Confirming a ride booking
Let's define some actions on the Confirm Ride button to update the driver details to the database and navigate the user to the UserLocationPage.
Follow the steps below:
- Select the Confirm Ride button.
- From the Properties Panel, go to the Actions tab.
- Click + Add Action button.
- Select the action as Database > Update Document.
- Select the Reference to Update from ride Document > Reference.
- Set the following field values:
- driver_uid: From Variable > Authenticated User > User ID
- driver_location: From Variable > Global Property > Current Device Location
- driver_name: From Variable > Authenticated User > Display Name
- is_driver_assigned: Specific Value > True
- Scroll up and open the Action Flow Editor.
- Click on the "+" button and select Add Action.
- Choose the action as Navigate To > UserLocationPage.
- Pass the value of
rideDetailsReferencefrom ride Document > Reference. - Click Close.
Preview user's location
The UserLocationPage will mainly show a real-time preview of the route between the driver and user location, along with some details about the route inside a Container widget.
For the real-time preview, we'll reuse the RouteViewLive custom widget. But, some modifications have to be made to the widget's code.
Just replace all the rideRecord.destinationLocation with rideRecord.driverLocation inside the widget. So, before the real-time location starts updating, the map view will show the driver's location.
For example, replace this:
if (!snapshot.hasData) {
  return GoogleMap(
    markers: Set<Marker>.from(markers),
    initialCameraPosition: CameraPosition(
      target: latlng.LatLng(
        rideRecord.destinationLocation!.latitude,
        rideRecord.destinationLocation!.longitude,
      ),
    ),
With:
if (!snapshot.hasData) {
  return GoogleMap(
    markers: Set<Marker>.from(markers),
    initialCameraPosition: CameraPosition(
      target: latlng.LatLng(
        rideRecord.driverLocation!.latitude,
        rideRecord.driverLocation!.longitude,
      ),
    ),
Show route details
To show some details related to the booking, we will add a Container below the RouteViewLive widget. It will display the name of the user and the current distance and duration estimate to reach the user's location.
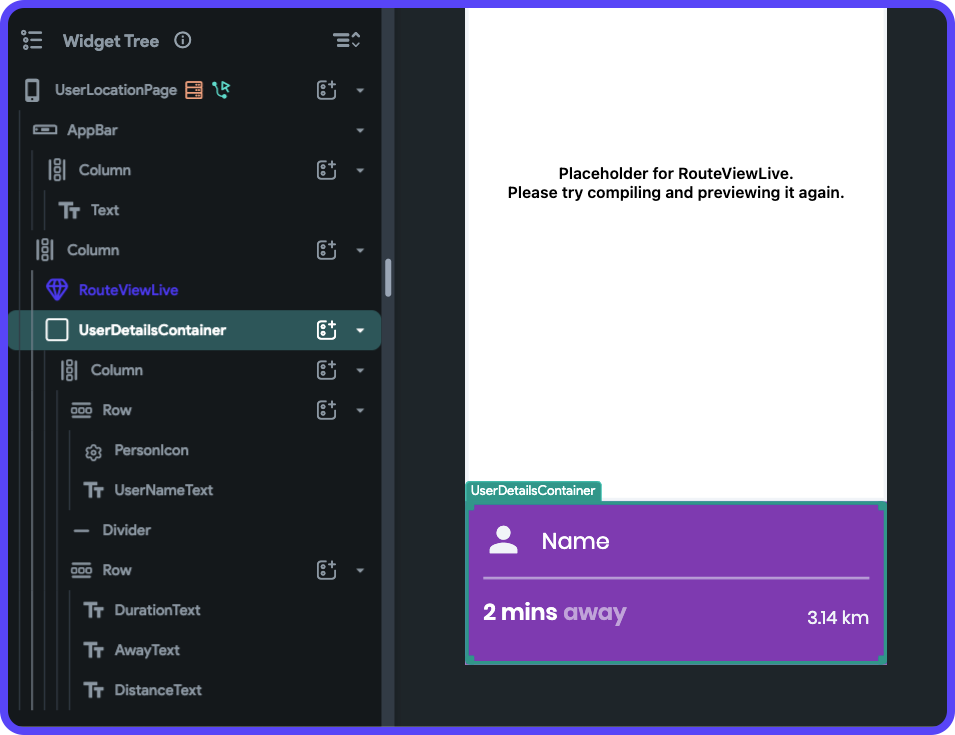
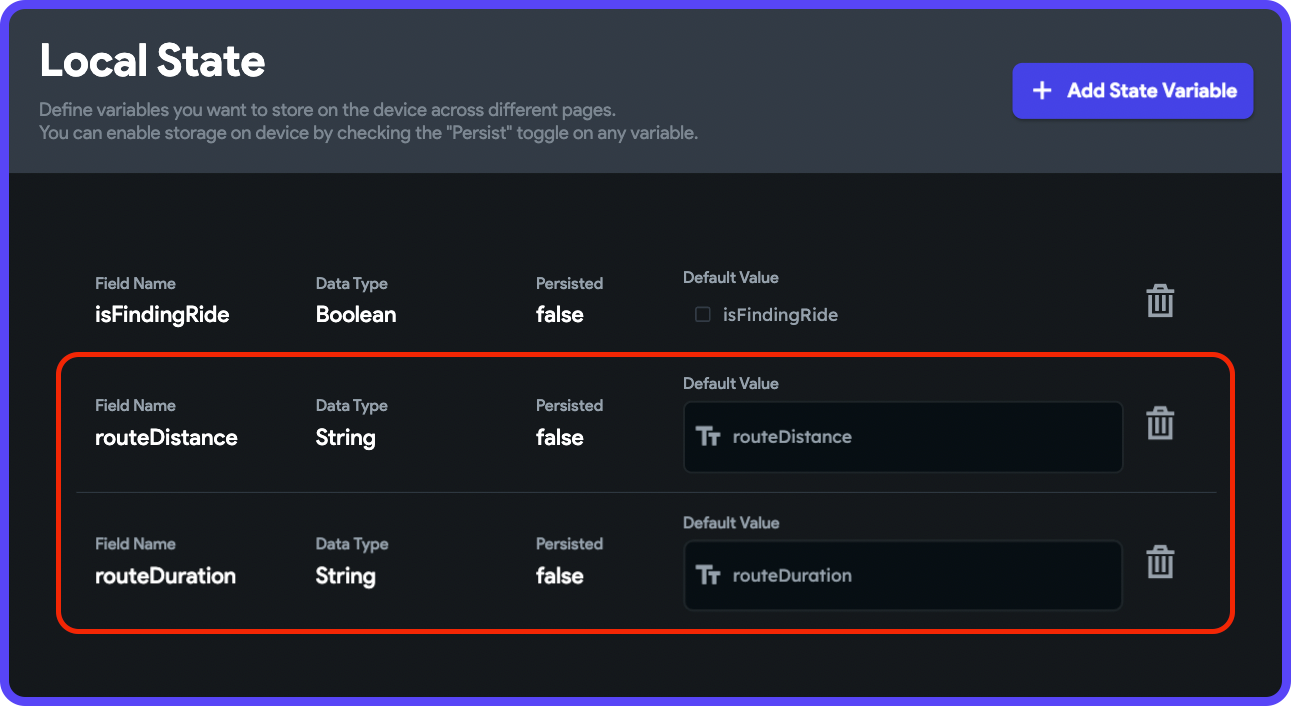
You can set the details dynamically from variables:
- UserNameText: Set from Variable > ride Document > user_name
- DurationText: Set from Variable > Local State > routeDuration
- DistanceText: Set from Variable > Local State > routeDistance
Realtime location updates
To send the real-time location updates to Firestore, you need to make some more modifications to the RouteViewLive widget code.
Add a new parameter to this widget called updateInterval:
class RouteViewLive extends StatefulWidget {
  const RouteViewLive({
    Key key,
    this.width,
    this.height,
    required this.updateInterval,
    // ...
  }) : super(key: key);

  final double height;
  final double width;
  final int updateInterval;
  // ...
The updateInterval parameter will define the interval between each of the location updates to the Firestore.
Define a Timer variable inside the _RouteViewLiveState class:
// Add this new import at the top of the file
import 'dart:async';

class _RouteViewLiveState extends State<RouteViewLive> {
  Timer? _timer;

  // ...

  @override
  Widget build(BuildContext context) {
    // ...
  }
}
Now, add the following method that will help in updating the location from the driver app after the specified intervals:
  void updateLocation() async {
    _timer =
        Timer.periodic(Duration(seconds: widget.updateInterval), (timer) async {
      LatLng currentUserLocationValue = await getCurrentUserLocation(
        defaultLocation: const LatLng(0.0, 0.0),
      );

      final rideUpdateData = createRideRecordData(
        driverLocation: currentUserLocationValue,
      );

      await widget.rideDetailsReference.update(
        rideUpdateData,
      );
    });
  }
Call the above method inside the initState() method:
@override
void initState() {
  updateLocation();
  super.initState();
}
Add the following method to get rid of the timer when the user navigates away from the page containing this widget:
@override
void dispose() {
  _timer?.cancel();
  super.dispose();
}
Here's the entire updated widget file that you can use:
Congratulations 🎉, the driver app for the ride-hailing service is ready!
For running the app, you can follow the same steps as described in the previous blog post. The driver app in action will look like this:
Conclusion
You have finally come to the end of building the ride-hailing service. We have covered a lot in these two articles!
Feel free to customize and modify the custom widget code to make it suitable for your app's use case. You can reuse the live tracking code to implement a different kind of app as well, such as a food delivery app.
We hope these two blog posts have made you a bit more comfortable with custom codes and that you feel more confident while using a Custom Function, Custom Widget, or Custom Action in your FlutterFlow projects.
The clonable version of this project is available here.
